Wedding Advice | Event Planning Tips
Everything you need to know about wedding collateral.
The wedding planning has commenced, you have firmed up your guest list and now you are ready to commence the collateral development.
Creating wedding collateral is often a big part of the planning process and when we refer to collateral, we basically mean anything that is designed and printed. This could range from invitations all the way through to table numbers and signage.
So where do you begin when it comes to your wedding collateral design needs? We have created a thorough list of what you may like to consider and also highlighted helpful design insight and tips to allow you to approach this task effectively and efficiently.
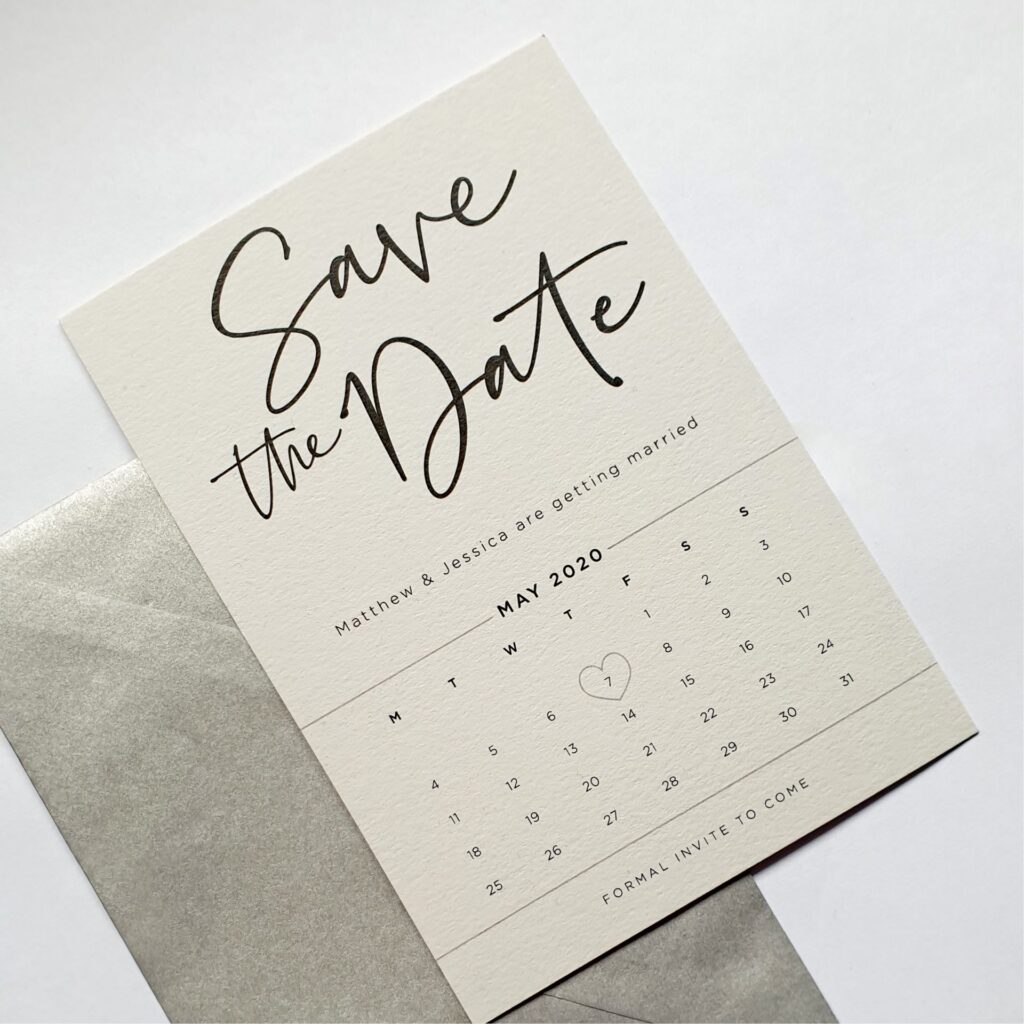
Save the Date
The Save the Dates are most likely the first wedding collateral design element that most couples need to consider. When designing your Save the Date think about the bigger picture and how you envisage your wedding looking, in particular the look and feel of the other collateral you may require. The goal is to try to tie the collateral together with a consistent theme and design.
Designs By Jessica Kate VIEW PROFILE 
The Lovely Inc Co VIEW PROFILE
Why Do I Send a Save the Date?
A Save the Dates is to allow your guests to plan ahead, put the date in the diary and if required, book accommodation for the wedding. Sending a Save the Date out early is a nice way to introduce your wedding with guests, while easing the pressure on you to design and send out a formal invitation with all the confirmed event details.
When Do I Send Out a Save the Date?
- 7-9 months prior to your wedding as a general rule.
- When you have 100% firmed up your guest list. Only send Save the Dates to those your certain that you are inviting to your wedding.
What to Include on the Save the Date?
- You and your partner’s names.
- Date of the wedding.
- Location of where you will be getting married, i.e. suburb, town. This does not need to be detailed, simply an indication.
- Outline that there will be a ‘Formal invitation to follow.’
Some additional information you may like to consider includes:
- Highlight if there will be a recovery the next day, as your guests may like to make arrangements for accommodation or babysitters.
- If you are having a destination wedding, offering some insight into location and accommodation options may be useful.

The Lovely Ink Co VIEW PROFILE
Invitation
The invitation for your wedding is the next step.
When Should I Send Out the Invitations?
This piece of wedding collateral should be sent out about 6-8 weeks prior to the wedding. If you have not managed to send a Save the Date then you may even consider sending the invitations out slightly earlier so your guests can put the date in their diary.

Eboni and Ivory VIEW PROFILE 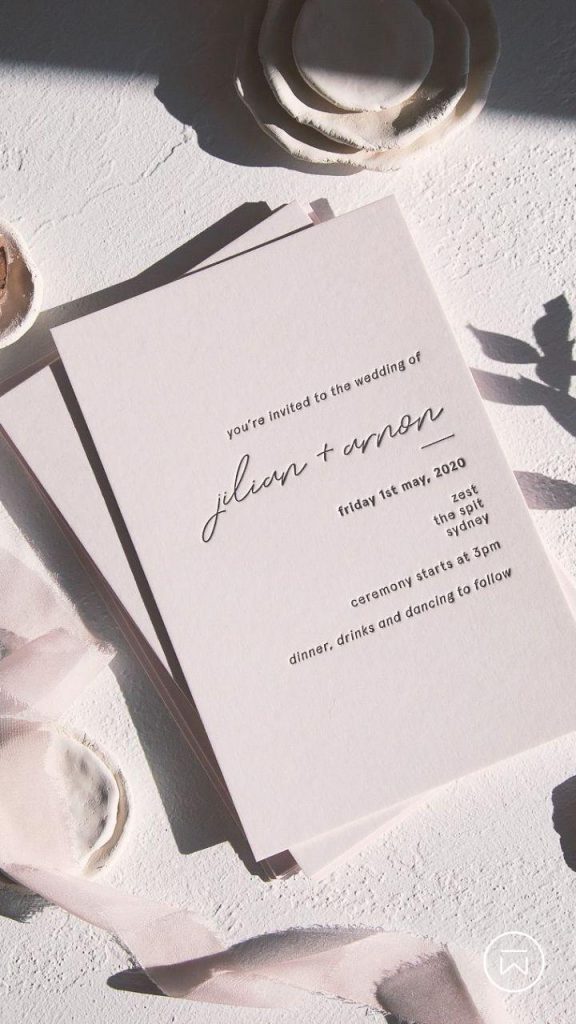
Blossie VIEW PROFILE 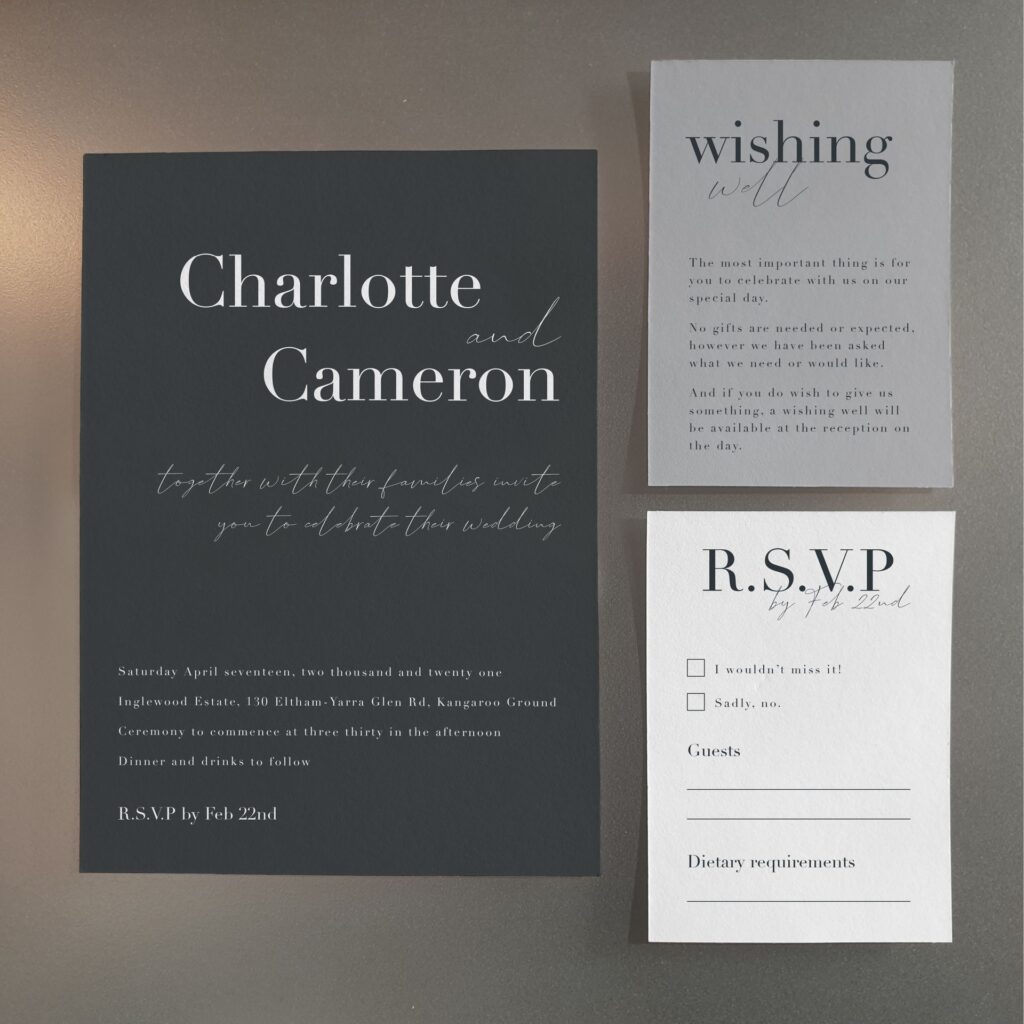
Designs By Jessica Kate VIEW PROFILE
What to Include on Your Invitation
- The recipient’s details – guest name.
- Name of the people hosting the wedding.
- The couple’s names.
- Date and time of the ceremony.
- Ceremony and reception venue details.
- Time of reception.
- Attire, dress code.
- Wedding website address.
- Wedding registry or gift information.
- Accommodation options/information.
- RSVP details.
- Recovery details.
Additionally, you may like to accompany your invitation with:
- RSVP card: you may like to have this card already stamped and self-addressed back to yourself to make the RSVP process very easy for your guests. Simply offer guests a tick the box option to RSVP (yes or no) and the option to list any dietary requirements of special notes.
- Wedding registry card: You may like to have the wedding registry/gift information on a separate card with your invitation to decrease the text on your formal invitation.
- Accommodation details: This information could also be put on a separate card if you need to limit the information on your invitation.
Reminders:
- Do not forget you can print front and back of the invitation – this may assist with managing the design space.
- Print the invitation on thick stock to make it look and feel premium.
- To save on costs you may like to investigate the maximum size you can send using standard postage.
- Some design technics look fantastic – however be sure you are aware of the price points as some can be quite expensive. Letter press, foiling, die cut design etc.
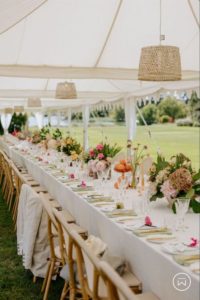
Table & Guest Collateral
Some other collateral designs you may need to consider that will help manage guests and the tables are…

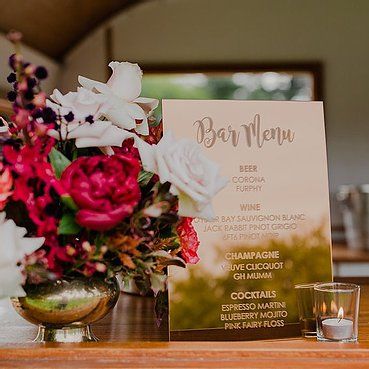
Menu
- Often the venue provides this, however if you would like the menu to fit in with your look and feel of the event, then go ahead and have this designed by your graphic designer and printed.
- Word of advice: ensure the venue (catering & beverage manager) approves the wording on the menu before you go to print, there are often little tricks with how you communicate certain ingredients on menus.
Table Numbers/Names
- To assist with guests funding their tables you often allocate guest names to table numbers of table names.
- Clearly have these numbers/names displayed on the tables so guests can see where they are going and find their relevant table.
- Once again, the venue will often provide table numbers, however if you would like the design to work in with your look and feel or you have particular / sentimental names (instead of numbers) that you would like to use for your tables – then go ahead and design and print yourself.
- Reminder: think about how these will be displayed, if they are to stand up (i.e. tent card) or be displayed using a table number stand, then make sure they are printed on thick stock that they do not bend (but thin enough that they fit into the table stand).
- Print table numbers/names double sided so guests can see them from all angles.
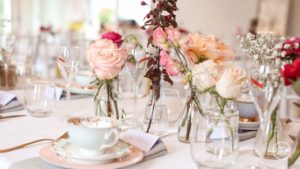
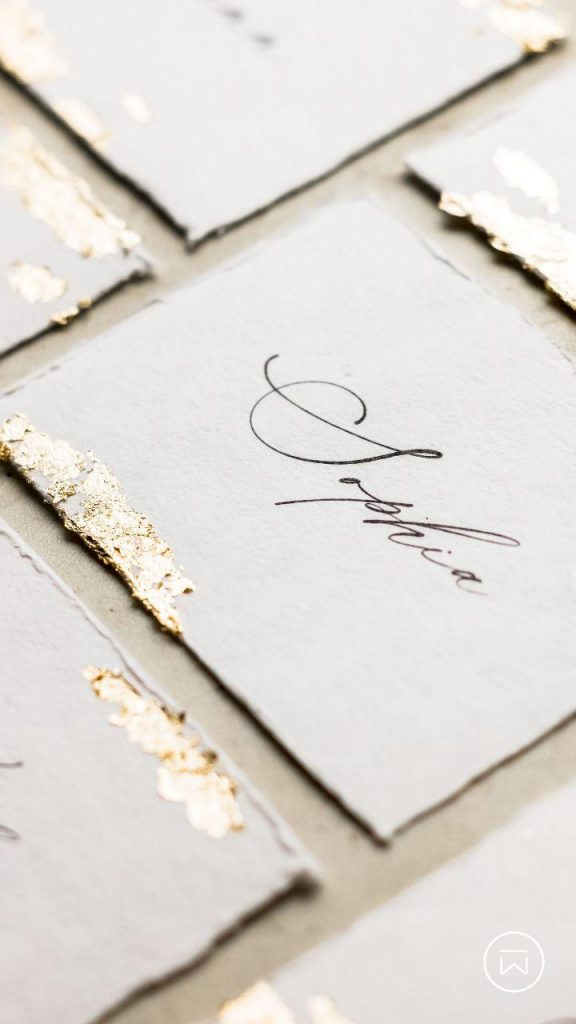
Place Cards
- The place Card allows you to position guests on particular tables & seats.
- This card is very helpful for guests to find their seat and sit down in a timely manner.
- They are also very helpful for the event planner to sit people on the same table/next to each other who will get a long and have a wonderful time together. You can be strategic about it.
- These cards are often small tent cards with guest first name and sometimes the second name printed on them.
- Reminder: ensure the stock is thick enough for the cards to stand up well.
- You can always have nice blank place cards printed and have someone with nice handwriting complete the names closer to the event date. This will assist you greatly if the RSVP process is slow.
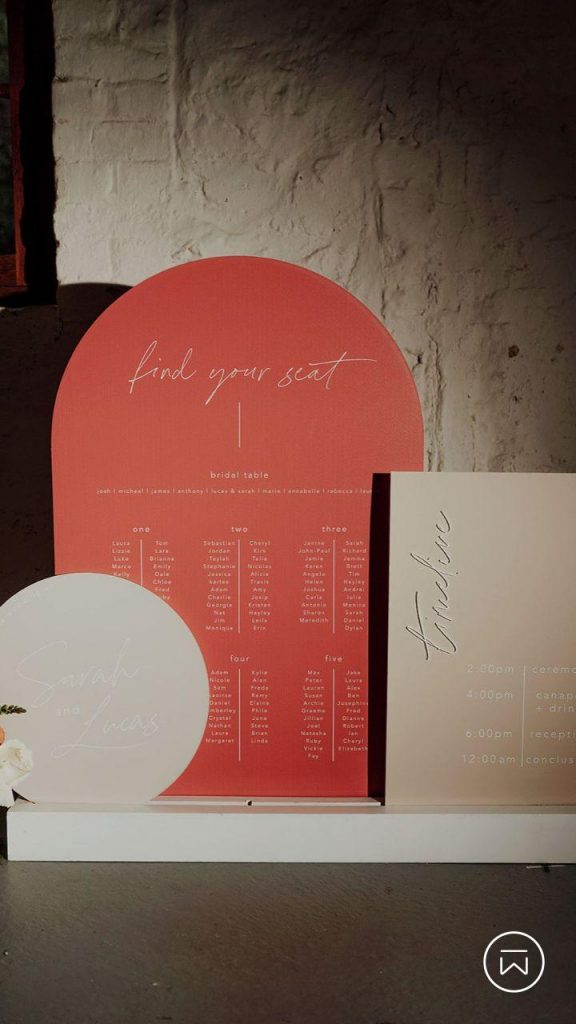
Table Plans & Seating Charts
- To assist your guests findin their seats we recommend you have some table plans and seating charts at the entrance to your reception venue.
- Guests can find their name by alphabetical order and look at the table plan to see who else is sitting on their table too.
- Alpha order by surname is the easiest method to communicate where people are sitting.
- These plans can be designed up to suit your theme if that is something you would like – or they can simply be print outs of your guest list. No need to go over-board here.
- Reminder: Print them in large font so people can easily read the names, especially if it is nighttime (low light) or the lighting is not very good at the venue entrance.
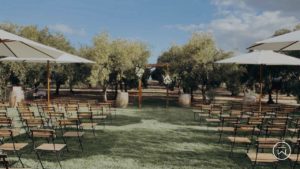
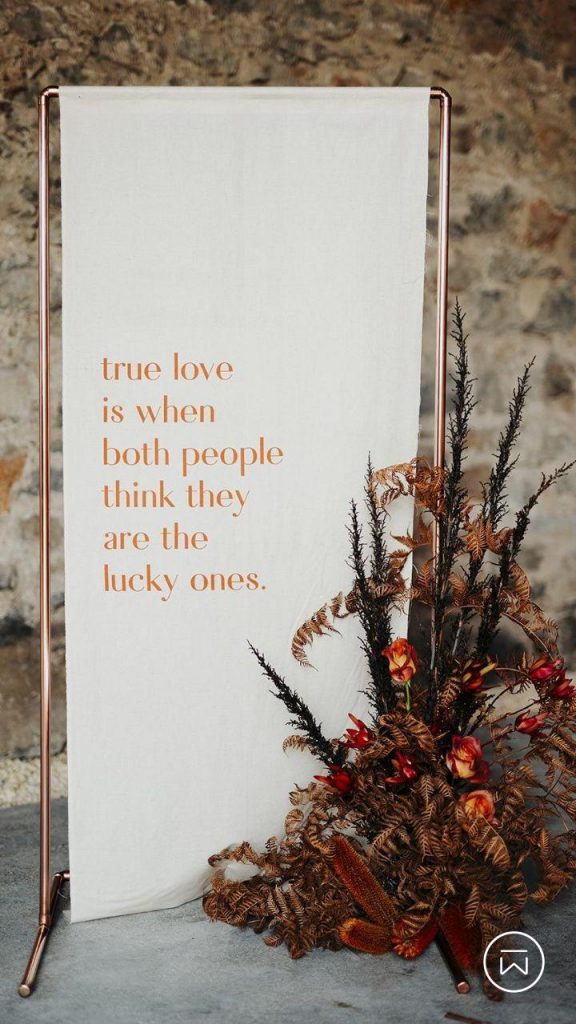
Event, Directional & Instructional Signs
Informative signage at any event is extremely helpful for your guests and it also adds to the styling and look & feel of the event. We recommend that all signage is designed in a very similar format, design and layout to make it look cohesive and do not forget to work the design in with the bigger theme of the event.
Directional Signage
You may need to consider directional signage pointing to the following areas:
- Toilets
- Smoking area
- Ceremony
- Reception
- Bar
- Pre-drinks
- Lounge
- Pop-up activations & activities etc.
Event Specific Signage
- Welcome sign
- Name of couple (at entrance)
- Ceremony schedule / order of service
- Event or reception schedule
- Gift table
- Bar signage
- Food signage
- Activation signage
Instructional Signage
- Bar instructions – i.e. DIY gin bar instructions
- Activity instructions – i.e. photobooth instructions
- How to serve or help yourself to a meal/drink – i.e. if it is a self-serve format.
- Small reminders for your guests – i.e. this is a Social media free wedding.
- Hashtag sign.
Thank You Cards
When the wedding is done and dusted, send out a gorgeous thank you to your guests for their attendance and their gifts.
You may like to have cards made up already to go, or perhaps you can use some of your wedding photography to assist with the design of these cards.
Once again thick stock is recommended. Good quality print to make the photos pop.
Collateral Design Tips & Advice
- Ensure the stock or material it is printed on is sturdy to stand up effectively.
- If signage is located outside ensure it is waterproof, durable and can be secured to poles or easels in case of high winds.
- Do you contract a graphic designer or are you comfortable designing this yourself?
- There are many online options that you may like to peruse.
- Thicker stock (paper) feels more formal.
- The options for the design are endless, you may have a wonderful theme in mind. Some other formal design ideas that you may like to explore are keeping it simple, foil print, letterpress, unique shape such as an arch.
- Think about the size of the design, especially if you are posting in the mail – to ensure it fits into a standard postage envelope size.
- Will your Save the Date design carry across all your wedding collateral – if so think about the bigger picture look and feel.
- Many couples also prefer to keep all their collateral online, so this is also an option.
Think Outside the Box
Finally, there are various collateral designs mentioned above that do not have to be displayed on paper. You can be creative – for example:
- The table plans/guest list chart could be displayed using named glasses of champagne for your guests or with a polaroid photo of the guest with table number written on it. IDEAS
- The place cards could instead double as a gift for the guest, or perhaps it doubles as a drink coaster. IDEAS
- The table numbers could be calligraphy on stunning tiles. IDEAS
- Event website to act as a Save the Date/invite/RSVP card etc.
- Chalk boards / markers on Perspex or mirrors to replace directional signage, table plans etc.
- Or perhaps you would like DIY some wood signage.
We wish you luck with your wedding planning.
To assist with your event management and development we strongly recommend you download The Event Bible’s Wedding Planning Kit. It includes all your essentials templates from running orders, MC Notes through to guest list management and so much more.
THE EVENT BIBLE